DIY Face Mask Photo Tutorial by Sita
Have some extra fabric lying around your house and some extra time on your hands? Follow our tutorial on a DIY mask and grab our DIY Kit here if you’re fresh out of fabric and fasteners.
You’ll need:
1/4 yard of fabric
(2) 6-7” pieces of elastic or (1) 18” piece of cord
A pattern (get ours here or in our DIY Kit)
Scissors or rotary cutter
Yard stick or measuring tape
Straight pins
Step 1: Cut 4 squares of fabric just slightly larger than the pattern.
Step 2: Lay 2 squares on top of each other with the underside of the fabric facing out. Trace just the curve of the pattern.
Step 3: Follow your traced line with a single stitch.
Step 4: Line up the top of your pattern (the curved part) with your stitch and cut out all excess material. Leave a 1“ allowance on the back of pattern (as shown).
Step 5: Unfold your 2 pieces
Step 5: Place both layers together, matching your seams in the middle. Again, face the underside of both fabrics out. This means the seam will also be facing out.
Step 6: Stitch along the top and bottom edges, leaving the sides open for your elastic or ties.
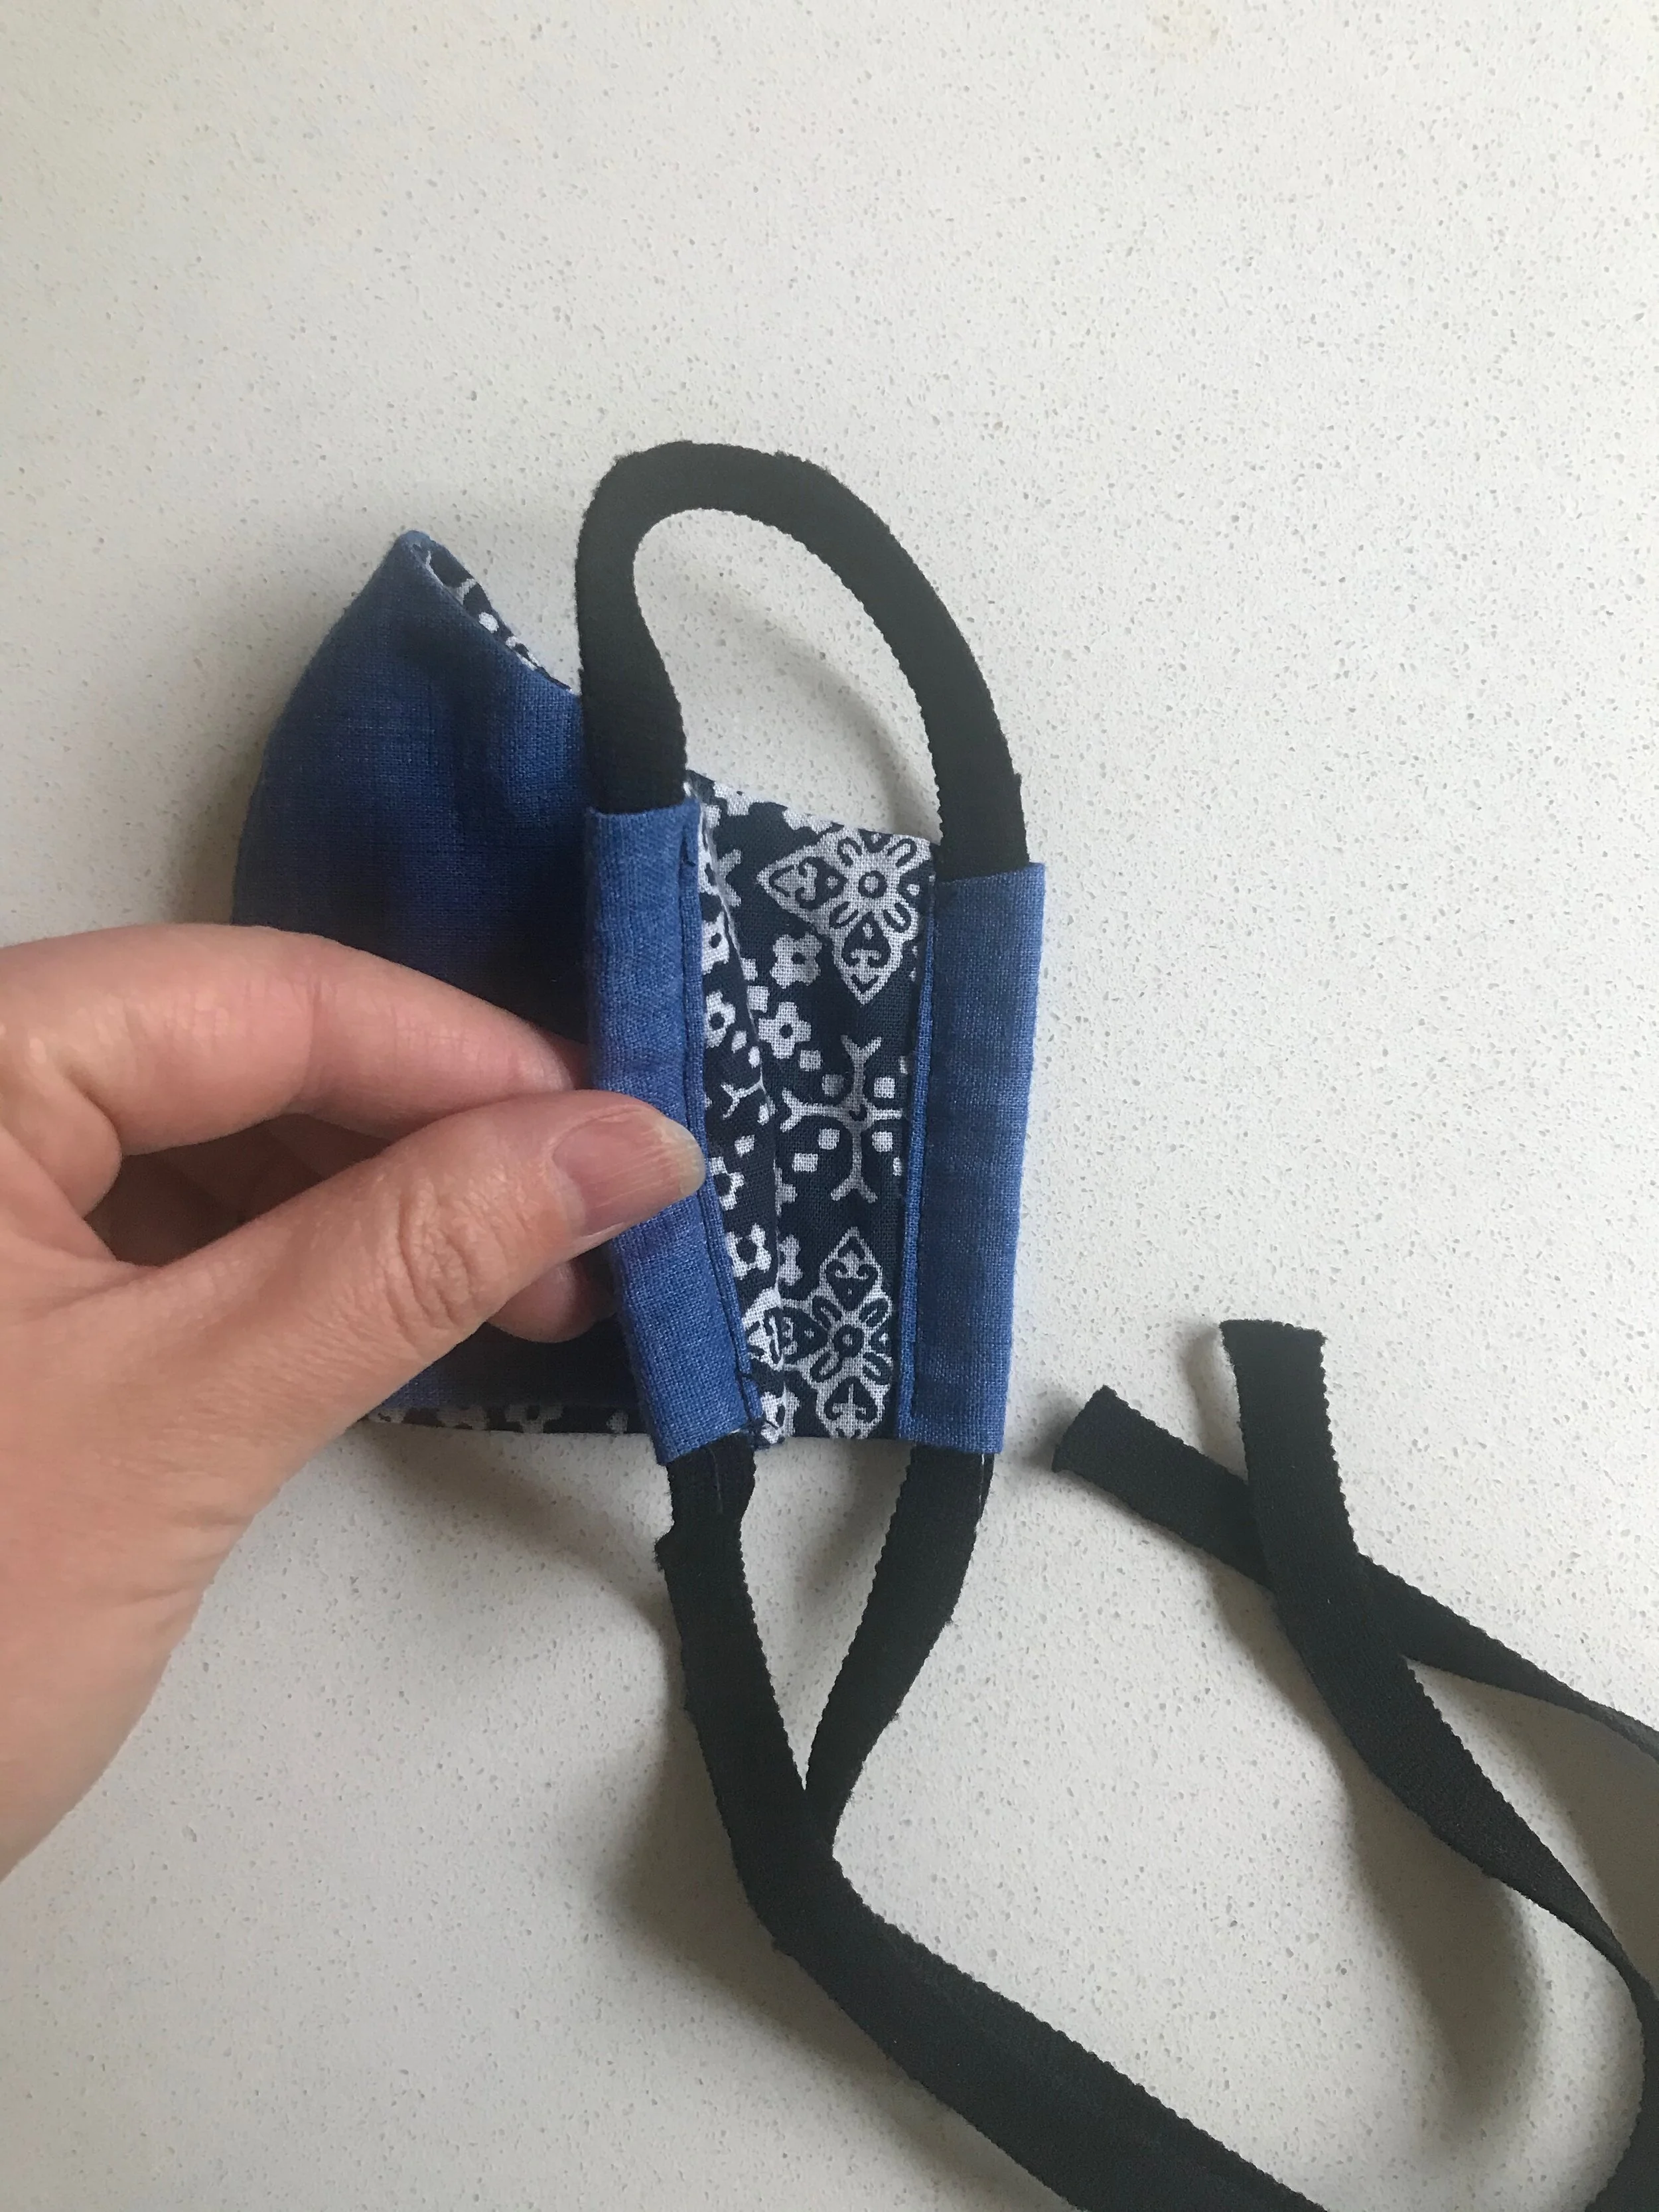
Step 8: Tuck in the 1” seam allowance on the ends and press again with the iron.
Step 7: Using the open ends, turn your mask right-side out. Once your mask is no longer inside-out, press it into shape with an iron.
Step 9: Tack your elastic or ties in at the corners and sew down the final edge of your mask.
There it is! Your own protective face mask. Have questions about our pattern? Send us a message. Don’t have your own fabric or ties? Purchase our DIY Kit here, including a printed copy of the pattern used to make this mask.
Alternatively >>>
If you don’t have elastic, use one long piece of cord or ribbon and fold your 1” seam allowance over and stitch, rather than tucking it in to stitch!


